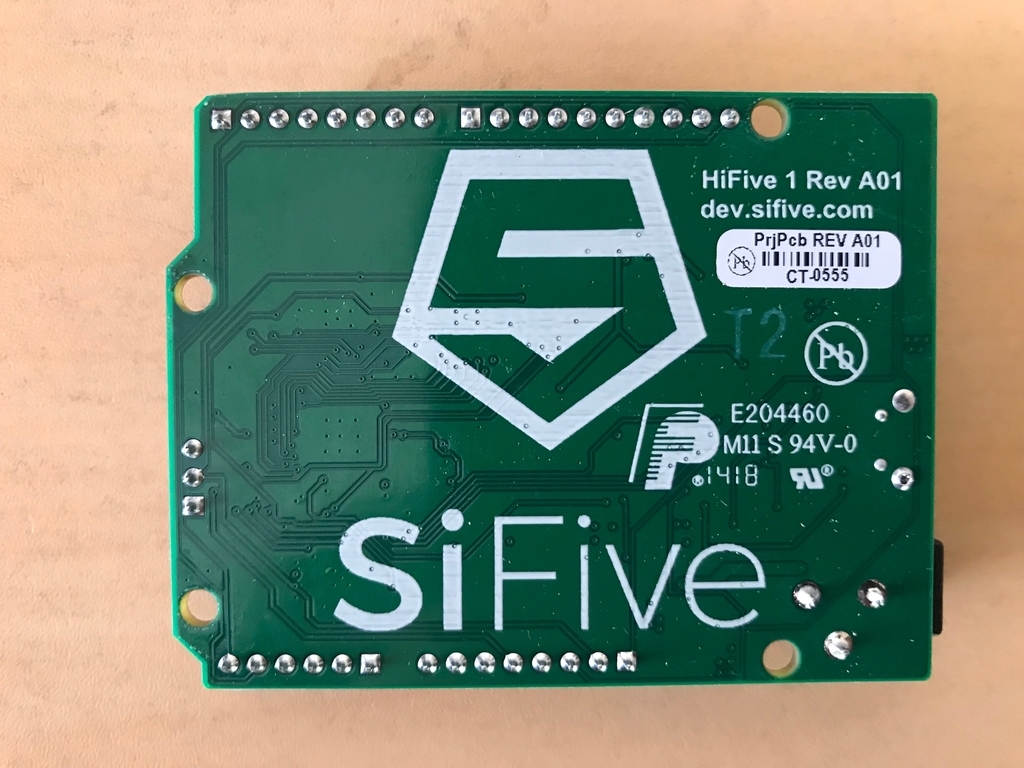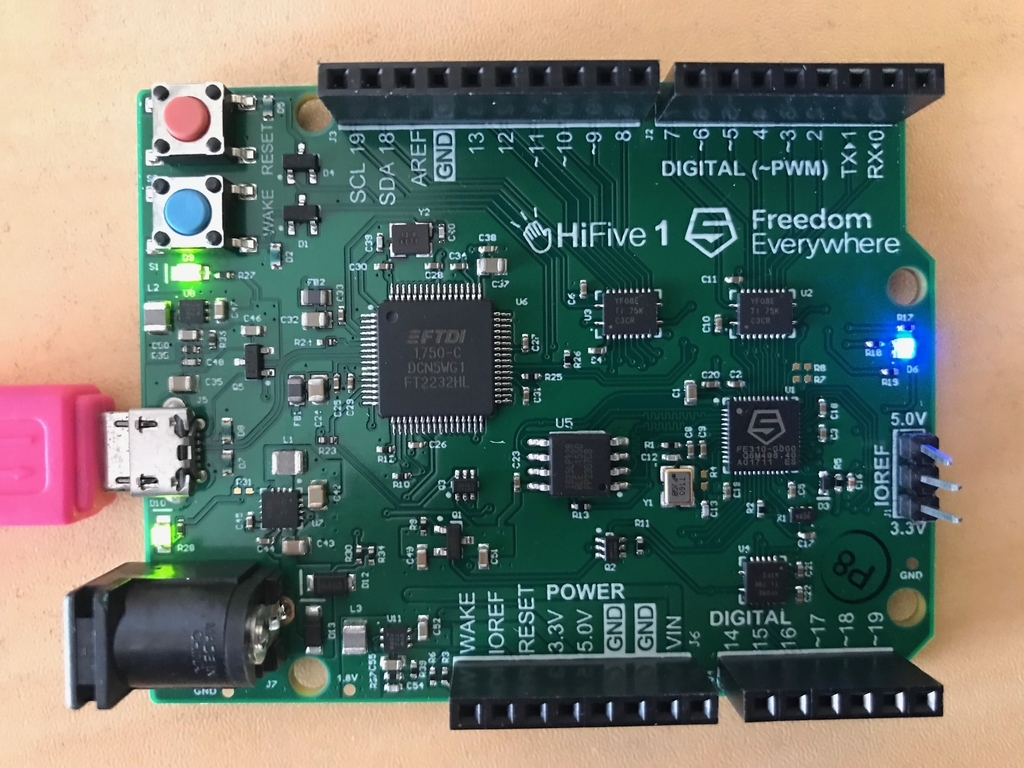
HiFive1を試す。
前から欲しいと思っていたHiFive1を購入したので動かしてみる。


[HiFive1の仕様]
- SiFive Freedom E310
- RISC-V 32bit, RV32IMAC
- RV32I Base Integer Instruction Set, Version 2.0
- “M” Standard Extension for Integer Multiplication and Division, Version 2.0
- “A” Standard Extension for Atomic Instructions, Version 2.0
- “C” Standard Extension for Compressed Instructions, Version 1.9
- RISC-V Privileged ISA Specification, Version 1.9.1
- RISC-V External Debug Support, Version 0.11
- Processor Speed:320+MHz
- Processor Performance: 1.61 DMIPs/MHz
- Memory:
- 16KB L1 Instruction Cache
- 16KB Data SRAM scratchpad
- UART, QSPI, PWM
- JTAG
1, freedom-e-sdkをインストールする
HiFive1の開発環境にはFreedomStudioやeclipse、aruduinoと言ったGUIの環境があるが、今回はSiFiveが開発している"freedom-e-sdk"というコマンドラインベースの環境を使う。以下より、"freedom-e-sdk"をダウンロードする。
(HiFive1は32bitの環境であるので、今回は"freedom-e-sdk"を使うが、64bitのHiFive unleashedを使う場合は"freedom-u-sdk"を使う。)
gitコマンドでダウンロードする場合は以下を実行する。
$ git clone https://github.com/sifive/freedom-e-sdk.git --recurse-submodules
2, RISC-V Toolchain(OpenOCD, GNU Embedded Toolchain)をインストールする
HiFive1でのプログラムのコンパイルおよびアップロードを行うためにOpenOCD, GNU Embedded Toolchainをインストールする。
以下のサイトから、OpenOCDとGNU Embedded Toolchainをダウンロードする。
www.sifive.com
ダウンロードが完了したら、以下のコマンドでダウンロードしたファイルを解凍し、任意のディレクトリに
解凍したファイルを移動する。
$ tar -xvf openocd-<date>-<platform>.tar.gz
$ tar -xvf riscv64-unknown-elf-gcc-<date>-<platform>.tar.gz
(「date」と「platform」には日付とプラットフォーム名が入る。)
3, 環境変数とPATHの設定
先ほどインストールしたopenocd、riscv64-unknown-elf-gccの環境変数とPATHを設定する。
環境変数の設定
$ export RISCV_OPENOCD_PATH=./openocdのディレクトリ
$ export RISCV_PATH=./riscv64-unknown-elf-gccのディレクトリ
PATHの設定
$ export PATH="$PATH:$RISCV_OPENOCD_PATH/bin"
$ export PATH="$PATH:$RISCV_PATH/bin"
4, 試しにLEDを点滅させてみる
freedom-e-sdkに移動
プログラムのコンパイルとアップロードを行うためにディレクトリ"freedom-e-sdk"に移動する。
$ cd ./freedom-e-sdk
freedom-e-sdkをアップデートする
$ git pull origin master
$ git submodule update --init --recursive
make softwareを実行する
$ make software
LED点灯させるプログラムをコンパイルする
以下の書式に従ってプログラムをコンパイルする。
[書式]
make software BOARD=freedom-e300-hifive1 PROGRAM=[プログラム名]
LEDを点灯プログラム"freedom-e-sdk/software/led_fade/led_fade.c"を以下のコマンドでコンパイルする。
$ make software BOARD=freedom-e300-hifive1 PROGRAM=led_fade
コンパイルしたプログラムをHiFive1にアップロードする
コンパイルしたプログラムを以下の書式に従ってアップロードする。
[書式]
make upload  BOARD=freedom-e300-hifive1 PROGRAM=[プログラム名]
コンパイルしたプログラム(led_fade)を以下のコマンドでHiFive1にアップロードする。
$ sudo make upload BOARD=freedom-e300-hifive1 PROGRAM=led_fade
以下のように表示されたらアップロードは成功。
...
Start address 0x20400000, load size 3202
Transfer rate: 11 KB/sec, 457 bytes/write.
halted at 0x20400004 due to step
halted at 0x20400004 due to step
shutdown command invoked
shutdown command invoked
A debugging session is active.

	Inferior 1 [Remote target] will be detached.

Quit anyway? (y or n) [answered Y; input not from terminal]
Remote connection closed
少し分かりにくいが、右側のLEDが点灯したらアップロードは成功である。
